3 Free Ways to Host Your React App

Category: Hosting WebDev React
Posted at: Sep 11, 2024
6 Minutes Read
Hosting your React app doesn't have to be complicated or costly. In this blog, we'll explore three easy and free methods to host your application using Firebase, Vercel, and Netlify.
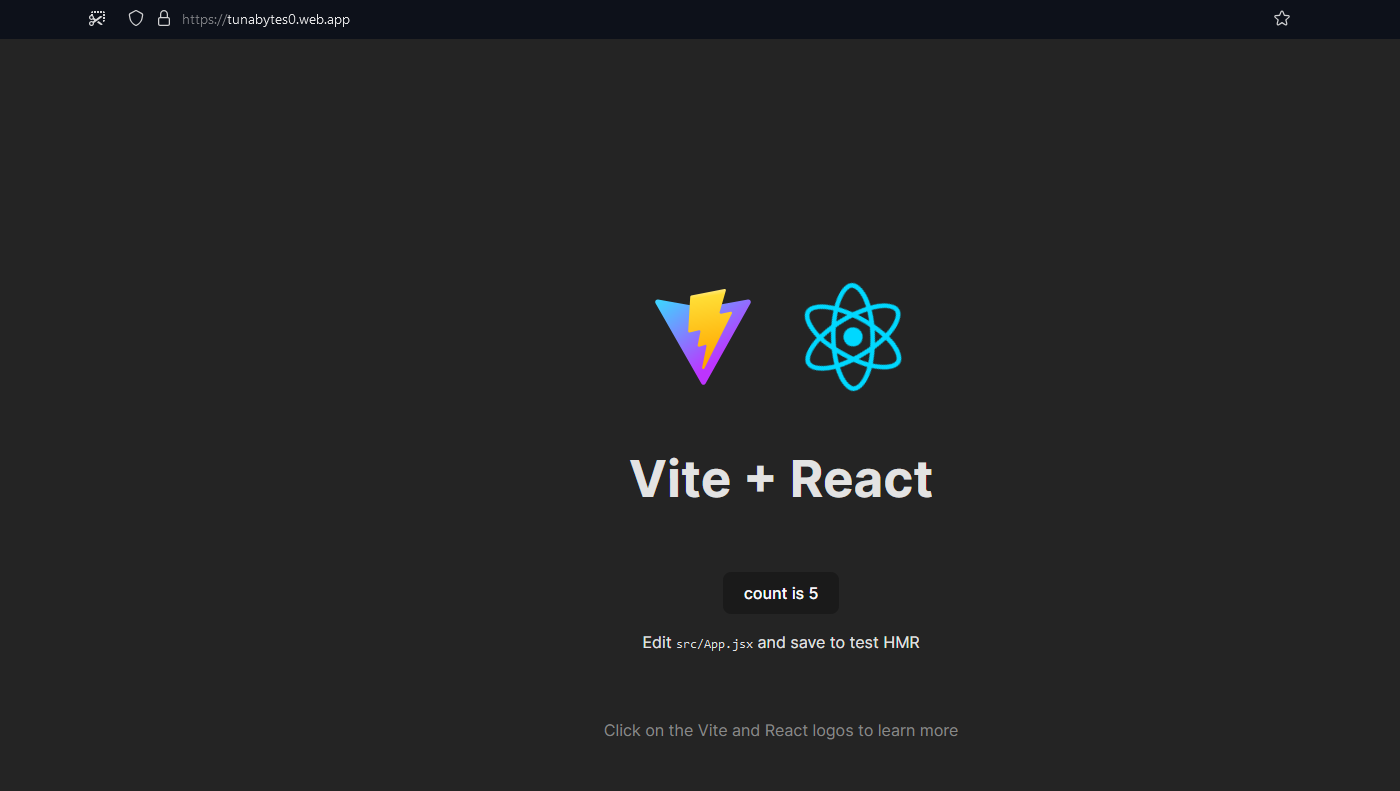
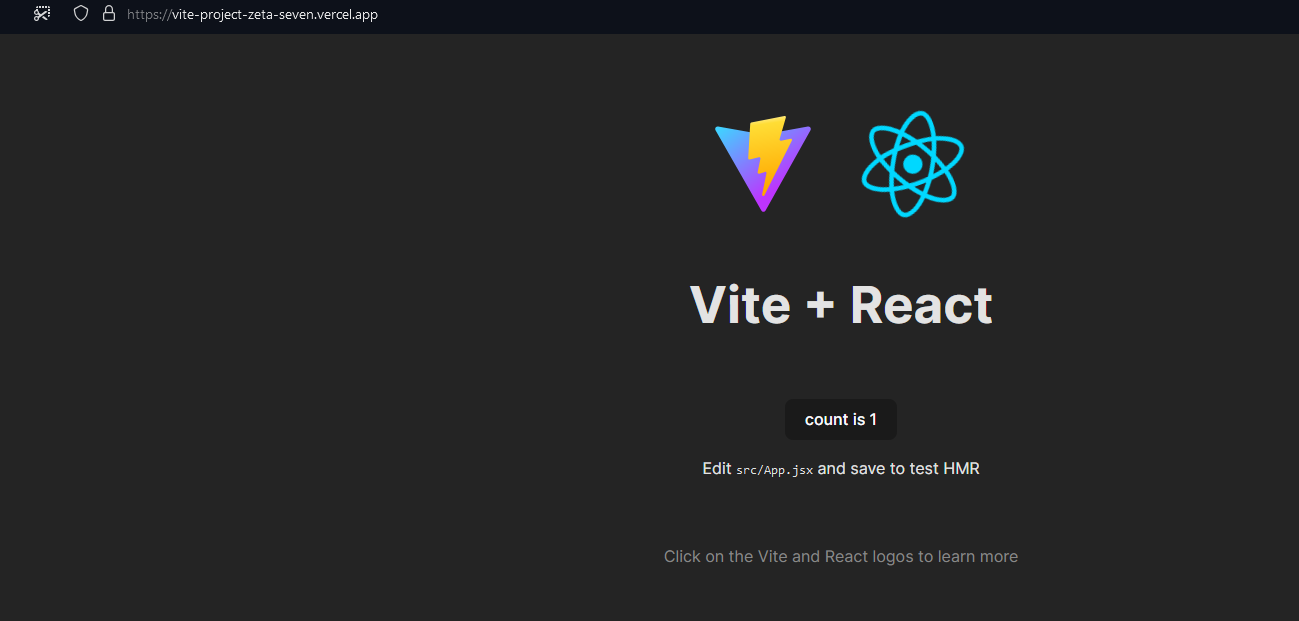
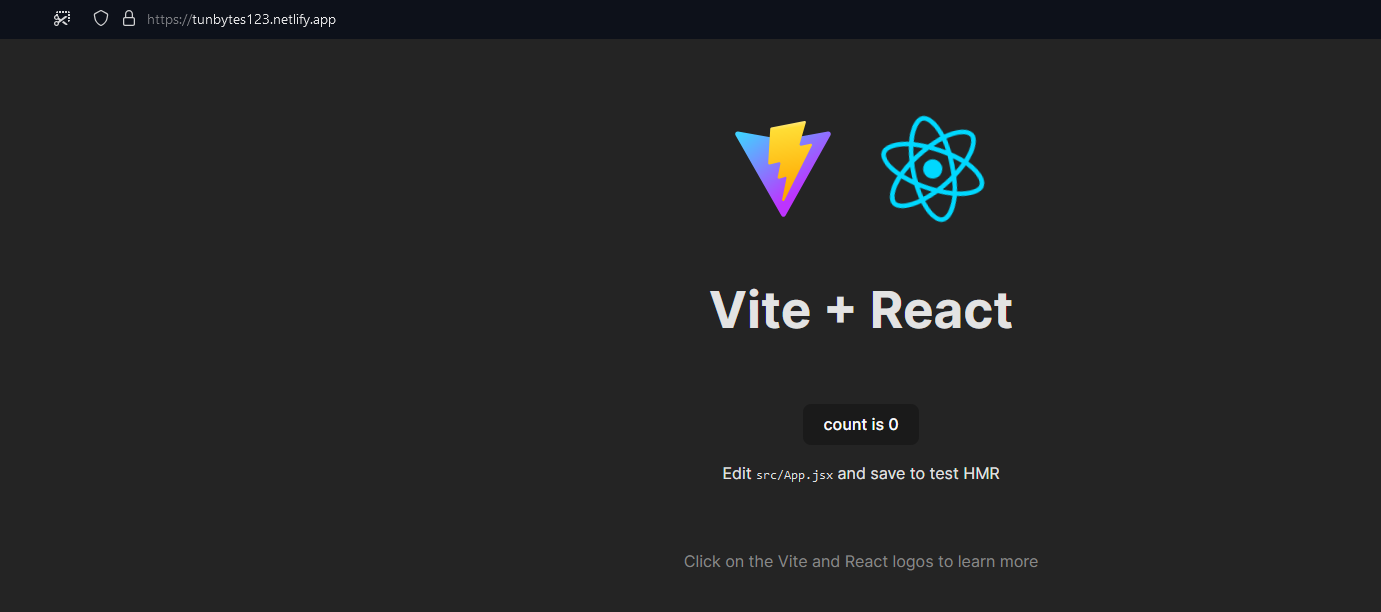
I will host the website in the simplest way possible, which means without using GitHub or automatic deployment. The demonstration will cover Firebase, Vercel, and Netlify. Please note that the application I’ve created is a React app with Vite, using the following command: npm create vite@latest.
Firebase
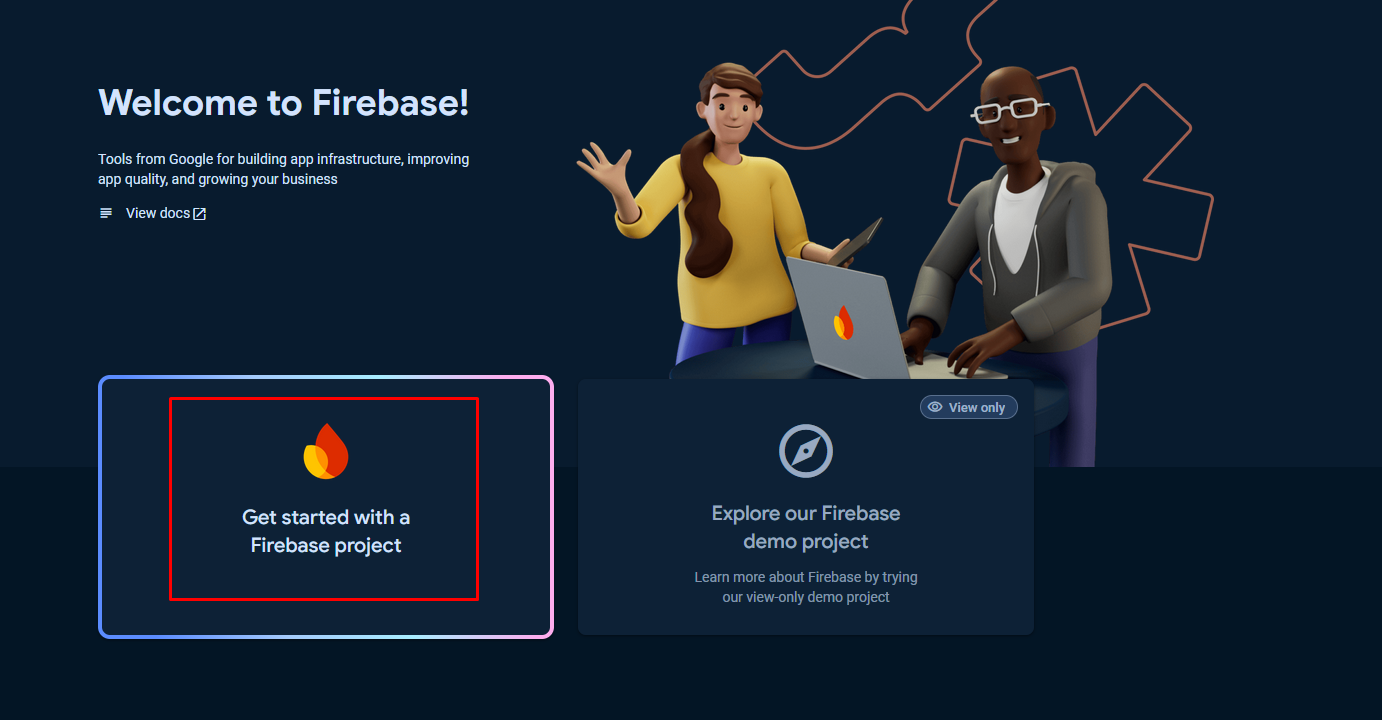
First, search for “Firebase console” or go directly to https://console.firebase.google.com. Log in to your Google account if you aren’t already. Then, click "Get started with a Firebase project."

Enter your project name and click “Continue.” You can skip setting up Google Analytics or enable it, depending on your preference.
Next, open your terminal and install Firebase tools globally:
$ npm install -g firebase-tools
After the installation, log in using the same Google account you used to create the project:
$ firebase login
Now, build your project by running: npm run build. Once the build is complete, initialize Firebase in your project: firebase init
When prompted with the following question, make sure to select Hosting: Configure files for Firebase Hosting and (optionally) set up GitHub Action deploys by pressing space and then Enter to confirm:
? Which Firebase features do you want to set up for this directory? Press Space to select features, then Enter to
confirm your choices. (Press <space> to select, <a> to toggle all, <i> to invert selection, and <enter> to proceed)
 ( ) Realtime Database: Configure a security rules file for Realtime Database and (optionally) provision defaultinstance
 ( ) Firestore: Configure security rules and indexes files for Firestore
 ( ) Functions: Configure a Cloud Functions directory and its files
>(*) Hosting: Configure files for Firebase Hosting and (optionally) set up GitHub Action deploys
 ( ) Hosting: Set up GitHub Action deploys
 ( ) Storage: Configure a security rules file for Cloud Storage
Next, select Use an existing project since we’ve already created a Firebase project earlier, and then choose your project from the list.
? Please select an option: (Use arrow keys)
> Use an existing project
  Create a new project
  Add Firebase to an existing Google Cloud Platform project
  Don't set up a default project
When prompted with these options, follow the configuration:
? What do you want to use as your public directory? dist
? Configure as a single-page app (rewrite all urls to /index.html)? Yes
? Set up automatic builds and deploys with GitHub? No
? File dist/index.html already exists. Overwrite? No
Finally, deploy your site by running: firebase deploy

Run npm run build then firebase deploy whenever you make changes to your website to publish the updates.
Custom Domain
If you want to connect a custom domain to your website, go to the menu on the left under the "Build" category, click on Hosting. Then, click Add custom domain, type in your domain, and follow the instructions to complete the setup.
Vercel
Make sure you have an account on Vercel. Then, install the Vercel CLI:
$ npm i -g vercel
After running npm run build, navigate to your project directory and run vercel
Follow the configuration steps below (you may be asked to log in to your Vercel account):
? Set up and deploy “~\Desktop\vite-project”? yes
? Which scope do you want to deploy to? your-name's projects
? Link to existing project? no
? What’s your project’s name? vite-project
? In which directory is your code located? ./
Local settings detected in vercel.json:
Auto-detected Project Settings (Vite):
- Build Command: vite build
- Development Command: vite --port $PORT
- Install Command: `yarn install`, `pnpm install`, `npm install`, or `bun install`
- Output Directory: dist
? Want to modify these settings? no
That’s it !

Run npm run build then vercel whenever you make changes to your website to publish the updates.
Custom Domain
If you want to connect a custom domain to your website, go to your project, then navigate to Settings > Domains. Enter your domain in the input field and click Add.
Netlify
Make sure you have an account on Netlify. Then, install the Netlify CLI:
$ npm install netlify-cli -g
After running npm run build, navigate to your project directory and run netlify init
Follow the configuration steps below (you may be asked to log in to your Netlify account):
? Do you want to create a Netlify site without a git repository? Yes, create and deploy site manually
? Team: yourname’s team
? Site name (leave blank for a random name; you can change it later): tunabytes123

Site Created

Admin URL: https://app.netlify.com/sites/your-website
URL:      https://tunabytes123.netlify.app
Site ID:

Linked to tunbytes123
"tunabytes123" site was created

To deploy to this site. Run your site build and then netlify deploy
To deploy your site, run netlify depoly --prod
? Publish directory (.) dist

Run npm run build then netlify depoly --prod whenever you make changes to your website to publish the updates.
Custom Domain
If you want to connect a custom domain to your website, go to Domain Management in the left menu, click Add a domain, enter your domain, click Verify, and then select Add Domain.
Good luck!
Comments